Blanching and Freezing Corn from the cob is super easy and so worth it. I can barely even stand to eat canned corn or even store bought frozen corn. It’s so much better when you can do it yourself.
I bought 6 dozen ears of corn and they were $3/dozen. The neighborhood grandma talked to the local fruit and vegetable stand and asked if they would sell it for cheaper if she made a big order. She put it on facebook and filled the demand pretty quickly. She ordered 70 dozen ears of corn and they just dropped it in the back of her truck. At the stand they sell for $5/dozen so we all jumped at the price. Some ordered just for eating and others ordered to freeze and stockpile for the off season.
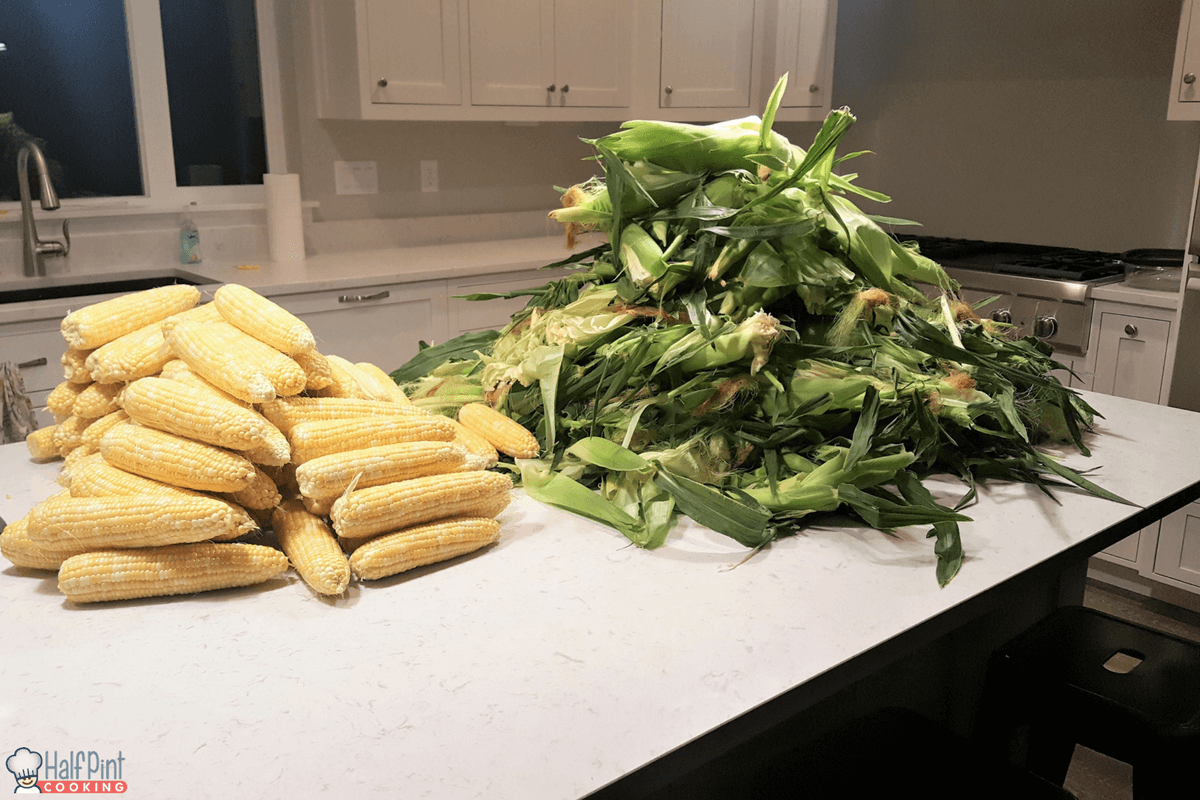
We’ve been really busy getting settled into the new house still but I couldn’t pass it up. I had some time one night after the kids went to bed and I shucked all the corn. It took me about 35 minutes plus or minus. It wasn’t too bad but I really should have had the kids helping me. Sometimes it’s just nice doing it in the peace and quiet though.
I went to town on my island and just left it all there. I was surprised at all the husks. It seemed like a lot of waste but it is what it is. This corn was so pretty and the kernels were so plump.

The picture didn’t do it justice so I had to get in to give you an idea of how tall the pile of husks were.

I kept them in a huge Ikea bag overnight and finished the next day when the kids were in school and the babies were occupied. They dried out a tiny bit but once I put it in the boiling water they plumped right back up.
Place them in boiling water for 4-6 minutes and cool them down right away. I filled up my prep sink in the island with water and ice. The ice melts quickly so I had to keep adding more ice as I did more corn. Keep doing that until all your corn is cooked.
Once the corn cooled enough to handle I place them vertically on a cutting board and cut the kernals off. You can also scrape the rest of the guts out to make it even better.
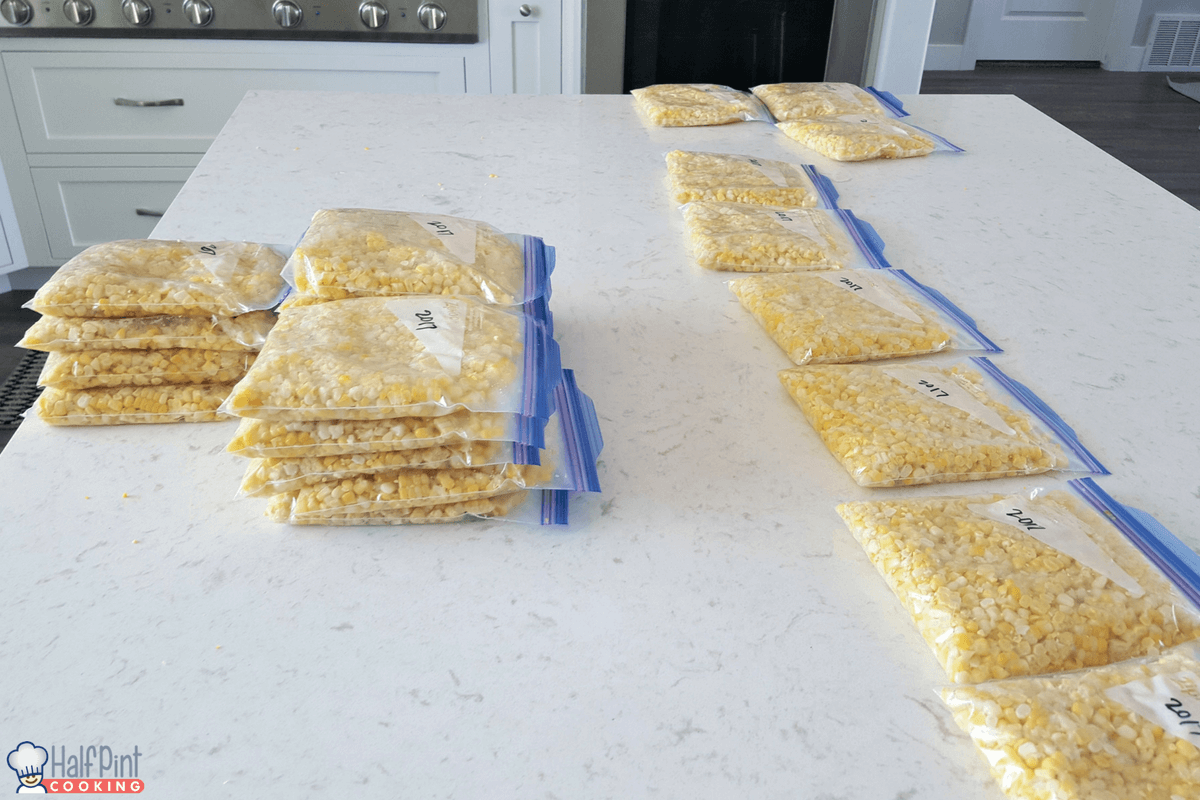
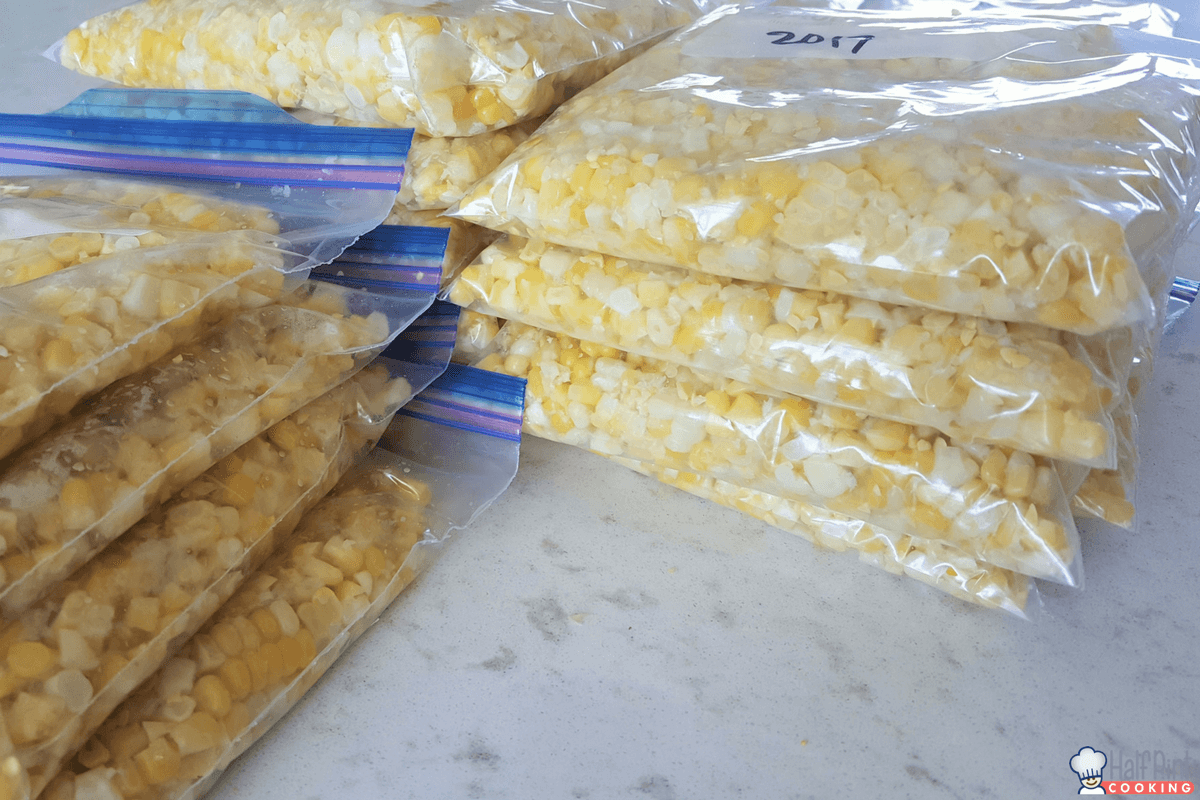
I put all the kernals in a big bowl so I can keep going quickly. Once the bowl is full, I scoop the desired amount of corn into freezer bags and try to get out as much air as possible. I then lay them flat and label the bags with the date.

I then and stack them in the freezer and enjoy fresh tasting corn all winter long.

How to Freeze Corn
1-Shuck the Corn on the Cob.
2-Boil a big pot of water.
3-Wash the corn and place it in the boiling water for 6 minutes.
4-Have a clean sink full of ice water.
5-Once it has been boiling for 6 minutes, remove the corn from the boiling water and place in the ice water.
6-Add more corn to the boiling water.
7-Once the corn has cooled enough to handle, remove corn and hold it up vertically.
8-Using a sharp knife, cut the corn off the cob.
9-Place the cut off corn in freezer bags, remove the air as much as possible and seal the bag.
10-Label the bag with the date and place in freezer.
11-When it’s time to eat the corn, remove from freezer and let it defrost, then heat it up and eat it.
12-Clean up the mess.